If you have come across the term of derma rolling or micro needling, you might wonder how poking needles into your skin could possibly be a good idea! But, do not let those harmless needles intimidate you. We are going to introduce you to your new best friend.
So, what really makes these needles so effective? The roller essentially works by causing a “wound like response”, that signals the skin to stimulate higher cell turnover and elastin production. In this article we take you through the entire derma rolling process. Read and roll on!
What is micro needling and what are its benefits?
The rate at which our skin heals reduces after the age of 25. Micro needling is a technique that uses a tiny roller with microscopic needles at its head on the surface of the skin to stimulate collagen production. What makes this treatment special is that it targets scars, wrinkles and irregular texture without using any chemical formulation purely depending on the response of your body.
Clinics and professionals apply general anaesthetic compounds in order to operate larger sized needles to reach even deeper into the skin compared to the results achieved at home. However, incorporating a derma roller safely in your “at home routine” can target various issues. Some of its main benefits include -
1. Maximum efficiency of products
Without using a derma roller, your skin only absorbs 4 to 10% of the product. Adding a derma roller into your routine will help in deeper penetration of the product. Your skin will receive 70% more giving better results and lesser wastage.
2. Reduce pore visibility
Derma rolling will not change the size of the pores that are genetically present but it helps to tighten their visibility by reducing its appearance.
3. Combat signs of ageing
To attain brighter and youthful looking skin, it is important to shed off the dead layer sitting on the surface. Once the skin is punctured with your derma roller, blood and collagen is rushed to the targeted area to repair and regenerate new skin cells in the process.
4. Reduce discoloration and scars
Clinical studies have shown overall positive results while using derma roller to treat acne scars. It removes the top layer of skin solving issues related to visible scars, hyperpigmentation and uneven texture.
5. Reduce dark circles
Dark circles are caused when the blood vessels beneath are visible through the thin layer of skin. Rolling under the eyes can overdrive collagen production and thicken the skin around the eye making it beneficial to solve dark circles.

Steps to follow while using a derma roller and products we recommend
Step 1: Cleanse the skin
Before you start using your derma roller cleanse your face, use small circular motions with a gentle face wash removing all the dirt and makeup. Do not use any cleansing oil, balm or cream as we do not want any residue left on the surface of the skin. Ensure that your hands are clean too. VedaEarth Moisturising Face Wash cleanses your skin with nature's purest healing, soothing ingredients such as Coconut Milk and Bulgarian Lavender. It is the wholesome self-care remedy to clean, hydrate and calm the skin for a soft, naturally glowing face.

Step 2: Prep your skin
Apply two layers of serum of your choice to get maximum benefit. The perfect ingredient to look for is Hyaluronic Acid as it helps to increase the skin’s hydration making it plump. Using the House of Beauty Hyaluronic Serum will make your skin super soft and smooth.

Step 3: Begin rolling
Use the House of Beauty HOB Derma Roller 0.25 mm to trigger new collagen synthesis in skin and remove acne scars, light pimple marks, light coloured freckles. On the other hand, the House of Beauty HOB Derma Roller 0.75 mm helps in removing more stubborn acne scars, surgical or burn scars, very deep wrinkles and stretch marks.
Start at your jaw by using your index finger to gently hold the skin at the chin. Take your derma roller and gently start rolling without any pressure in a back and forward motion approximately 6 times. Once done move on to the next area till you complete rolling in back and forward motion. Once you have vertically covered the jaw and cheek area on both sides of your face, run your roller in an upward and downward motion. You will begin to notice redness in your skin, but that is normal.

Step 4: Roll over the remaining area
Similarly, repeat all the steps while approaching your forehead and rest of the face. Do not forget to roll between your eyebrows to target your frown lines and your upper lip. Follow the same motion and move to the neck area. However, due to the sensations felt you could potentially divide the two areas over alternate days.
Step 5: Aftercare
After you have used the derma roller your skin is quick to absorb any product you apply. Be extremely careful with the product you choose to apply. Most commonly, you could apply another layer of your Hyaluronic serum else you could use soothing natural ingredients like the Prakriti Herbals Hydrate and Glow Aloe Vera Rose Facial Gel or a moisturiser. You must avoid harsh or direct sunlight for the next few days and wear sunscreen by The Mom’s Co Mineral Based Sunscreen during the day.

How to choose the right derma roller?
There are two main types of micro needling tools available namely, derma roller and derma stamp. Depending on your skin type you can use a derma roller 2 to 3 times a week at home. If you have sensitive skin, active acne or rosacea you should not use it at home and must consult a professional. However, if you have acne scarring then it is the perfect technique to treat them.
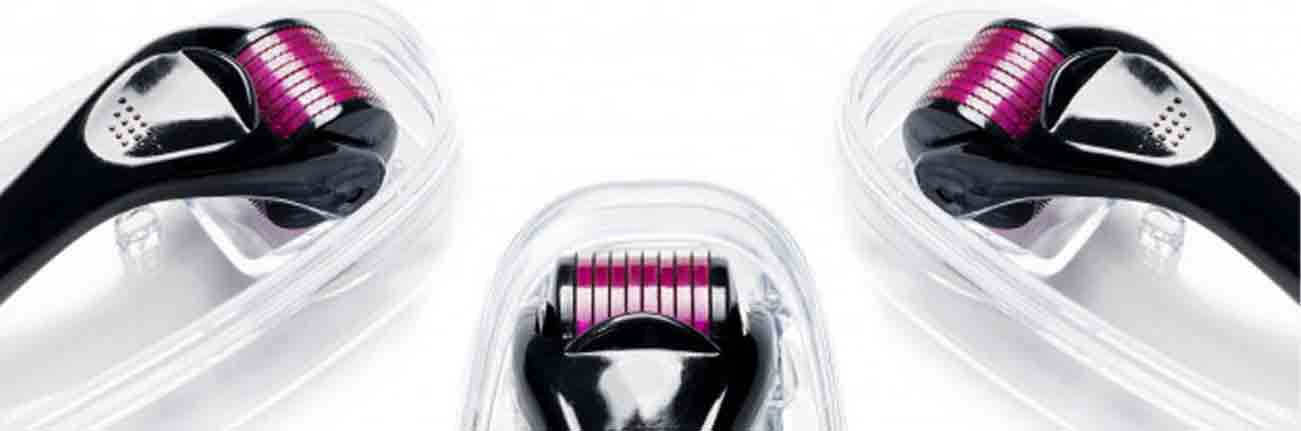
The Derma roller is a small wheel with 100s of tiny needles that come in different sizes. The size represents how deep each needle goes into the skin. As the needle size increases so does the intensity of lines, scars and marks you can get rid of. The best way to find out which product works for you is to concentrate on the concern you want to target and research more about it. Here we have given you a summary of all the sizes available to use at home -
1. Size: 0.25 mm
It is the smallest needles size available and is just right for those starting off with sensitive skin. It improves serum penetration and is designed to increase cell turnover.
How often can you use it: Every other day
Target areas: Appearance of enlarged pores, discoloration, fine lines
2. Size: 0.5 mm
Not only does this help to increase collagen and elastin production but also reduce wrinkles and other visible signs of ageing.
How often can you use it: 1 to 3 times a week
Target areas: Uneven skin tone/texture, open pores, signs of ageing
3. Size: 0.75 mm
This needle can improve texture making the skin smoother. You might experience tiny blood spots leading to a longer recovery period compared to 0.5 mm
How often can you use it: Once every 2 weeks
Target area: Sun spots, sun damage, blemishes, deeper wrinkles
4. Size: 1.0 mm
This addresses deeper or more stubborn skin concerns. It penetrates to the papillary layer of the skin. Not only is it good for the face but can also increase hair growth if used on the scalp. As the needle length can cause a bit of stinging you might want to use a numbing cream.
How often can you use it: 20 to 25 days apart
Target areas: Deep wrinkles, shallow acne scars
5. Size: 1.5 mm
It is recommended to use this size mainly for the body. If you do want to target deep acne scars you must consult with a professional.
How often can you use it: Once a month
Target areas: Deep acne scars, cellulitis
6. Size: 2.0 mm
This size can be very painful and might cause significant bleeding. It should only be used on the body unless recommended by a dermatologist.
How often can you use it: Every 6 weeks
Target areas: Deep acne/surgical/burn scars, stretch marks, cellulitis
Any roller above 1.5 mm should be used under professional supervision. If you are choosing a roller for the face, pick a needle size between 0.2 mm to 1.0 mm, while use can use a size between 1.0 mm to 1.5 mm for any other part of your body. You can use the roller for 6 months potentially after which must discard it away as it may not be as sharp and effective.

Is derma rolling dangerous and what are the precautions you need to take?
Derma rolling is considered fairly safe as long as you follow the right technique and guidelines. If you are going to undertake this activity at home ensure you use the correct tool/needle size, pair it with the right products and maintain a sterile environment. Following these precautions can make it unlikely for you to experience any adversely reaction:

SUMMARY
By incorporating a derma roller in your beauty routine not only will it receive higher efficiency of the products you use but also treat various ageing, scarring and discolouration concerns. You can achieve great results with little to no pain. With all the benefits that come through micro needling, we encourage you to start derma rolling.
- Howrah Lookmanji