Your guide to getting salon-worthy nails at home
Introduction
Don't we all enjoy getting a mani and pedi done? A session that is relaxing and allows you to indulge yourself. But there are several problems with this. You can't keep going to the salon frequently because mani-pedis have gotten very pricey. On your week off, though, you can definitely adopt a DIY (Do-It-Yourself) mani-pedi routine! Let us walk you through the 8 stages to getting salon-worthy nails at home. Stay tuned!
Types Of Manicure And Pedicure
People get a mani and pedi done to improve the look and health of their nails. You can choose from a wide range of options, colours, and styles when you visit a mani pedi spa. Let's talk about the various kinds of manicures and pedicures that exist!
1. Regular
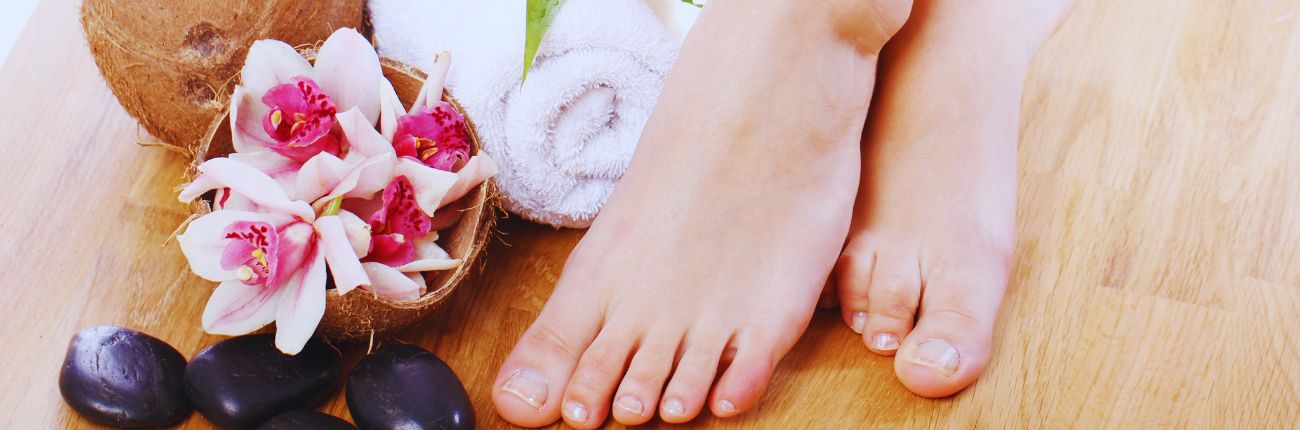
The skin and nails can be smoothened and softened by soaking them in warm, soapy water. After trimming, filing, and shaping the nails, the feet should be scrubbed to remove any dead skin. After that, paint the nails and use a moisturiser to improve their appearance!
2. French
Here, the standard manicure and pedicure process is used. A base coat is used after the nails have been filed and shaped. A clear or light pink polish is added to the base. Only naturally white tips will be present, giving it a healthy appearance. While a gel french manicure will appear more shiny and glossy since it goes under a UV light, a black french manicure will use the black colour in place of white tips.
3. Spa
For those who wish to take care of their nails, there is a more thorough version of manicure and pedicure! To display an immaculate look, more attention is paid to each nail. Additionally, the usage of high-quality nail polish and paint really helps in bringing out a flawless design. Salt scrubs and hot stone massages are also given at some places.
4. Paraffin
An alkaline-based product known as paraffin wax is known to give the nails an excessive amount of hydration and nourishment. Tea tree oil and chamomile are among the components. The salon employee will do a standard manicure and pedicure once the nails have been immersed in paraffin wax for a considerable amount of time.
Essential Tools/Supplies Needed
1. Acetone/Nail Paint Remover
2. Nail Cutter & Filer
3. Nail Buffer
4. Cuticle Oil & Stick
5. Hand & Foot Scrub
6. Epsom Salt
7. Foot Bath
8. Foot Scrubber/Pumice Stone
9. Body Butter/Moisturiser
10. Base Coat Nail Paint
11. Nail Polish
12. High-Shine Top Coat
13. Toe Finger Separators (optional)
Follow These Steps For A Perfect Manicure And Pedicure At Home
Step 1: Cleaning the nails
Take an acetone and a cotton pad or some nail wipes to remove the old nail polish from your nails. Do this for the nails of your hands and feet both. Take a remover that is alcohol-free because it is thought to be good for nails.
Step 2: Clipping, Filing and Shaping the Nails
Your nails should be trimmed to a length that is comfortable for you. If you want square or almond-shaped nails, shape them accordingly. Use water to wash your hands and feet after buffing your nails. In a dry manicure, this step will be skipped since you will be applying a lotion to your hands.
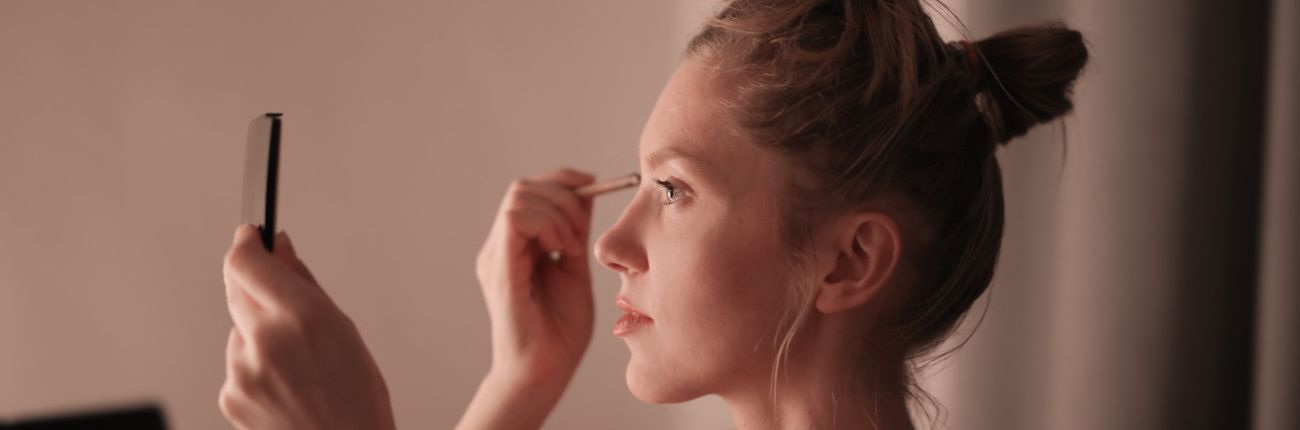
Step 3: Rubbing Cuticle Oil
Cuticle oil is well known for accelerating and strengthening nail growth. You can take care of your nails by applying some cuticle oil and rubbing for 3 to 5 minutes. Pushing rearward in an angled motion with a cuticle stick can give your nails a nice form.
We recommend: Mantra Herbal Gul Cuticle Oil that’s packed with rosehip oil to strengthen cuticles and keep nails moisturised.

Step 4: Soaking the Nails
Once your nails are well clipped, soak your nails for 5 to 10 minutes in a bath with a teaspoon of epsom salt. By doing this, you'll be able to remove any dead skin and dirt from your nails. Additionally, it will help to relax your muscles! In a dry manicure, a lotion or heat treatment will be utilised in place of this step to make your skin silky smooth.
Step 5: Scrubbing the dead skin off
Once you've finished soaking your hands and feet, use a pumice stone or decent foot scrub to get rid of all the dead skin, polish your heels and knuckles, and remove any tanning. The skin around your nails will get smoother and cleaner as a result.
Step 6: Moisturising and massaging the nails
Apply moisturiser generously to your nails. Your nails can also be covered in body butter or hand and foot cream. For about 10 minutes, massage the area to promote healthy blood flow, smooth the skin, and heal it from the rough exfoliation that has just occurred.
Step 7: Beautifying the Nails
After all of these stages, the fun part finally arrives! Apply a protective base coat to preserve the natural shine of your nails. Give this coat 3 to 5 minutes to dry. This will aid in preventing any form of nail discolouration.
Bring out the nail paint shades you want to apply on your nails. You can also do nail art, if you know how to do it. Two coats of vibrant, pastel, or quirky nail polish should be applied, and they should be allowed to dry for 5 to 7 minutes. In order to keep the nail polish from chipping and extend its lifespan, a transparent shiny top coat will be used.

In the case of gel overlay nails, your nail polish is strengthened by the addition of a clear or hard coloured gel.There are many nail polishes available in the market that are packed with toxic chemicals. Try to stay away from picking those up and always go for clean, eco-friendly picks.
Step 8: Sitting back and relaxing yourself
When you have finished the aforementioned stages, your nails are ready to appear magnificent and stunning! Simply unwind and wait for the top coat and nail polish to dry naturally. In order for the procedure to go well, don't try to rush it. By following these easy instructions, you can create beautiful DIY nails at home without spending a lot of money.

Some Nail Hacks
1. Apply cuticle oil to your nails periodically to keep them healthy and nourished. This will help to make your gel pedicure last longer and cause your nails to grow more quickly.
2. Our recommendation to you is to get a classic pedicure done once every 1-2 months. Choose a service that will provide a durable hybrid varnish. Traditional pedicures are renowned for nourishing the skin and nails of the feet.
3. Use stones that are no hotter than 4 degrees Fahrenheit when getting a hot stone pedicure. Use these stones to massage the marma points on your feet to experience increased relaxation and better health.

A Final Look
And now here it is! You have the type of nails that people who visit mani pedi spas get done, by investing a lot of money in it. Aren't you pleased with your high-quality nails that you can get in the comfort of your home? Share your thoughts with us!
- Harshita Shah